Ultimate Guide to Getting Your RV Ready for Camping Season | Ep. 24
It’s Almost Camping Season!
Well, here in Canada, anyway! And as we write this it’s Groundhog Day where Canada’s own Wiarton Willy has predicted an early spring.
Join Dan on today’s episode we chat about the step by step things you need to do to your trailer to get it camp-ready for all your 2021 adventures! So let’s go!
RV Walkaround
Before hitting the road, it’s ALWAYS essential to do a walkaround of your trailer, whether it’s been sitting for a few weeks or a few months. We’re going to detail our spring walkthrough process here, but we also have a great pre-trip travel checklist you can download and use before each trip.
As you may know, we store our trailer at a farm close to our home for the winter, which allows us to have enough room in the driveway to house our snowmobiles for our other favourite outdoor activity. So, basically from November to May, we don’t see our trailer much, except to go out and check her out after a heavy snowfall and maybe clear some snow off the roof. With that being said, there are any number of surprises that can happen over the winter so this is how we check it all out:
- External walkaround. Check for delamination anywhere on the trailer, check what you can see of the seals around windows and edge banding, look for any body damage or problems with the roof.
- Tires – If you park on anything other than concrete or pavement over the winter you’re liable to sink into the earth, so we recommend parking on some long, hefty 2x10s. In any case, check your tires and pressure, and don’t forget to check the spare! We know from experience, and trust us, you DO NOT want to need your spare only to find out it’s flat.
- Interior – Check for any signs of rodents (if you want to hear how we keep rodent’s out, check our episode on RV end of season maintenance), interior water damage, softness in the floors or staining on the ceiling. Check that all the plumbing pipes are intact and be sure to close the fridge, and any cupboards you had open for airflow over the winter. (You did remember to keep your fridge open, right?!)
- Hook up and Tow Home – or to wherever you will be summarizing your trailer. Go slow, especially if your RV has sunk into the ground over the winter. 4WD is your friend, but slow and steady.
Summerization
Summerization is what we call the process of flushing your RV antifreeze out of the lines, re-setting the bypass valves and sanitizing the freshwater system. Be sure to set aside a full day to 1-1/2 days to do the work.
Flush the System
- Install your batteries if you’ve not already done so. Batteries should always be removed and stored somewhere warm over the winter.
- Hook up to city water and run water through your entire system. Turn on all taps – and we meal ALL taps. Showerheads, outdoor shower, outdoor kitchen, bathroom, toilet kitchen sink, etc and run them until the water is no longer pink and the smell of the antifreeze goes away. You can open your grey valve and let it run out.
- Turn off and reset all the bypass valves on your water heater. This is SUPER important to ensure that when you put water in your system, the water heater isn’t empty when you turn it on. Doing so can permanently damage your heater and tank.
- Fill up and drain your fresh water tank 3x using the low point drain
- Add your mixture of bleach and water into the fresh water tank at a ratio of 1/4c Bleach for every 16 gallons of water and don’t overdo it. Check your RV manual as your tank may list a different ratio. Turn on all your taps just until you can smell the bleach coming through and then shut them all off. Let the mixture sit in the system for at least 8 hours.
- While you’re waiting, you can wash your trailer roof, re-seal all of your joins with lap sealant or RV sealant and test your propane system. (check the episode for details on the order that we do it in).
- Go for a little walk and chill! You CAN use the toilet during this time, but don’t use the bleach water to wash your hands.
- Once your 8 hours are up, drain the freshwater tank using the low point drain, fill with fresh water, and flush out all the taps again, emptying the grey water as needed, or leave the valve open. Repeat 3 times!
- Once you’ve repeated the flush 3 times, and you can no longer smell the bleach from your taps you are good to go!
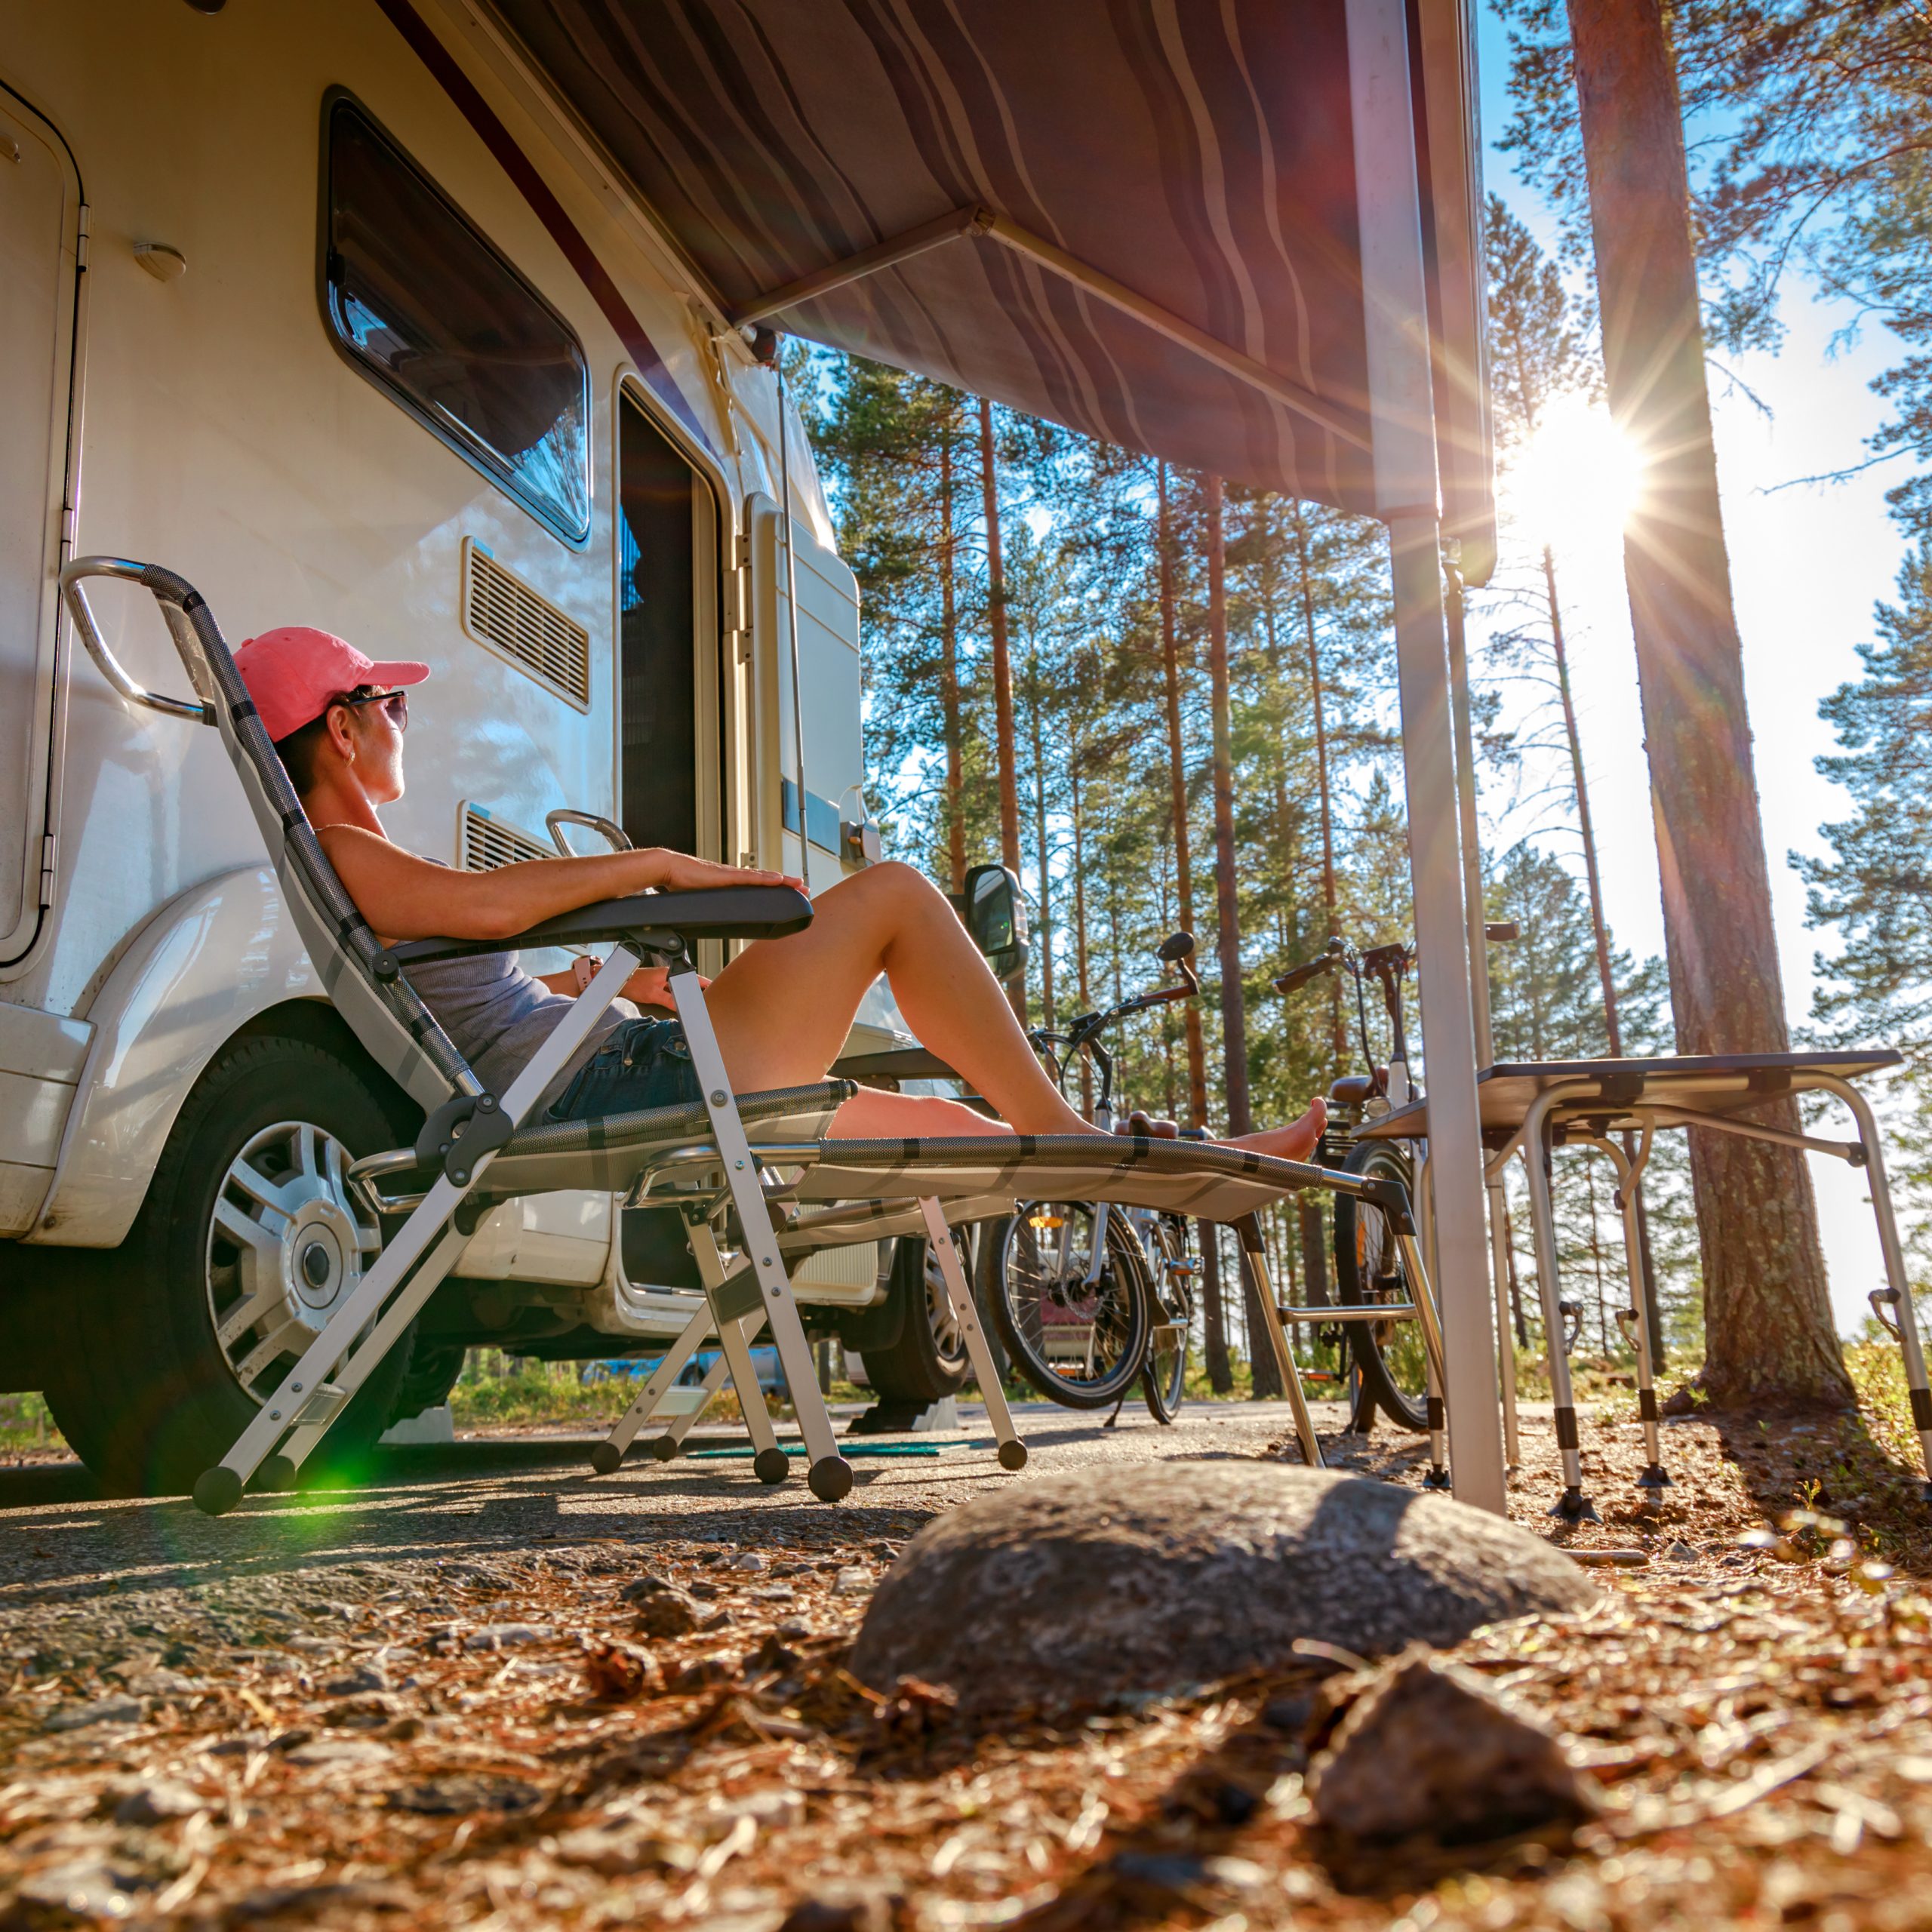
- Go find your comfiest camp chair, your favourite people and your most special drink and enjoy the fruits of your labour while dreaming of your yearly trips.
Thanks as always RV fam! We’re o grateful you’re here, and as always appreciate you listening and subscribing. And hey, if you listen on Apple Podcasts, please consider rating our show and writing a review. We’re always eager to hear what you think about the show!
Till next time!
D&M
About The Author
Melina
Related Posts

What to Know Before You Buy a New or Used RV | Episode 22
Purchasing an RV can be an overwhelming, emotional, expensive, and exciting experience. With a little…
January 6, 2021
5 RV Propane Tips That Save Time and Money | Ep. 20
I am Melina, of the RV Canucks and I am flying solo this week, as…
December 16, 2020